Page 1 of 3
900 S2 tidy up
Posted: Sun Mar 22, 2009 2:55 am
by Jon
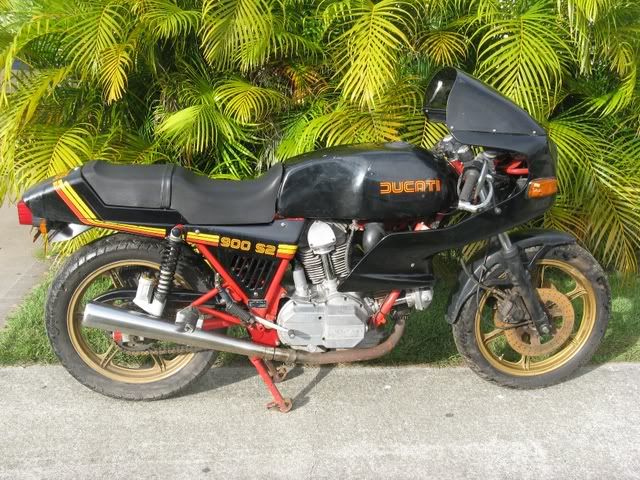
Giving my S2 a bit of a tidy up, not aiming for concourse as a intend on riding it but would like it to be fairly close to original.
This is what she looked like when i got her, not too bad and fairly complete.
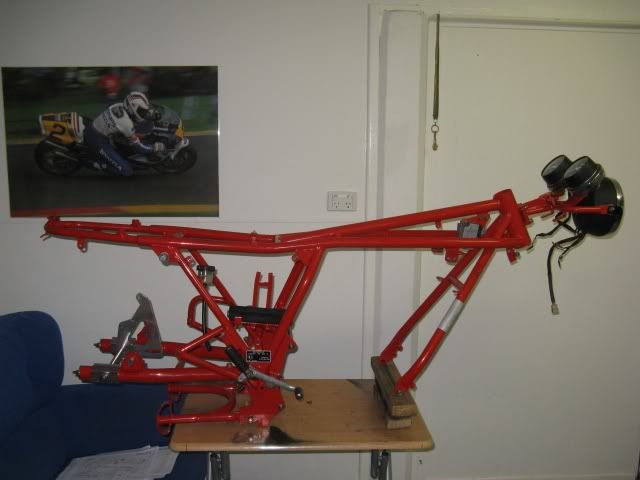
Got the frame back from the powdercoaters yesterday afternoon, Flame red seemed pretty close to the unfaded section of paint (inside the aircleaners).

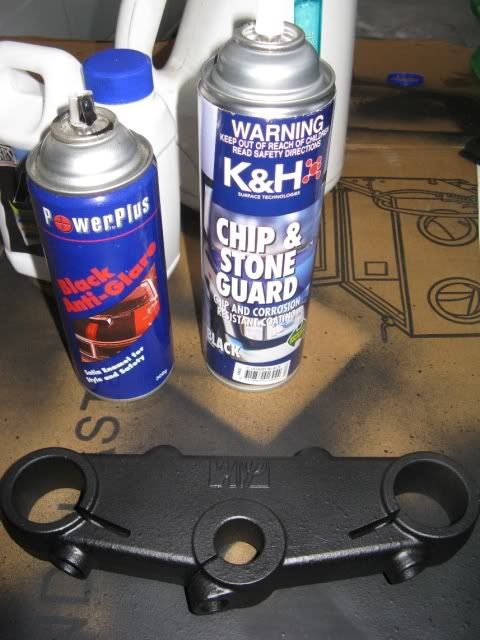
Messed around and got reasonably close to the texture of the Marzocchi black using an undercoat of stonregaurd and top coat of Satin Black.
regards
jon
S2
Posted: Sun Mar 22, 2009 5:21 am
by Lumpy
Looking good Jon. I`m impressed with the triple clamps. Amazing what you can do and the cash you can save by having a bit of a go yourself and trying something different. Certainly a very complete and orginal looking unit, good to see another bevel headed for the highway.
Posted: Sun Mar 22, 2009 1:27 pm
by Per Garbos
Peter, You are talking about modifying the S2 / late MHR frame.
Since i have a S2, I have heard and knows about the problems even it is not that bad.
But i have never seen a modified S2 frame.
How do you make it stronger and more stable?
Best regards Per
Posted: Wed Mar 25, 2009 2:10 pm
by Per Garbos
Thanks for link,
Next time i am going to have my Ducati repaintet, i will give them a call and see what they can do.
By the way Jon, the restauration already now looks great. It is going to be a great bike.
The older SS frame are properly better, but still the S2 is a very fine bike to ride.
Best regards Per
Posted: Sat Apr 18, 2009 1:17 pm
by Jon
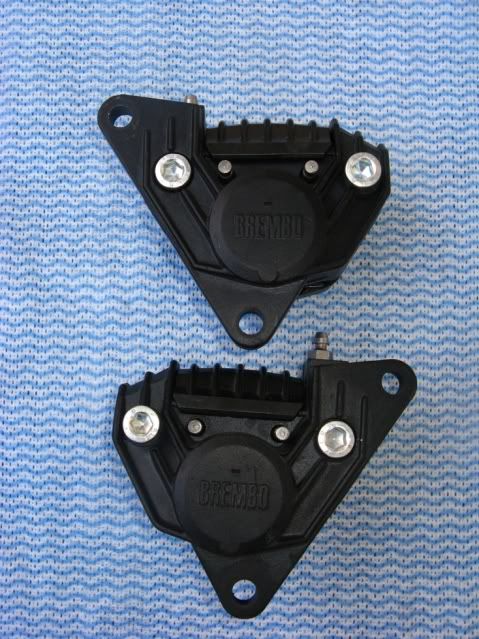
Got the Callipers back from being anodised at
Queensland Nameplate Group and put new kits and pads in them, overall pretty happy other then a small miss where one of the bodies suspend wire was resting against the body. (bottom calliper, next to the right hand socket head bolt).
Master cylinders were a different story, the bores now have pits in them so will need to get them resleeved.

Dropped the front fork tubes off to get them rechromed.
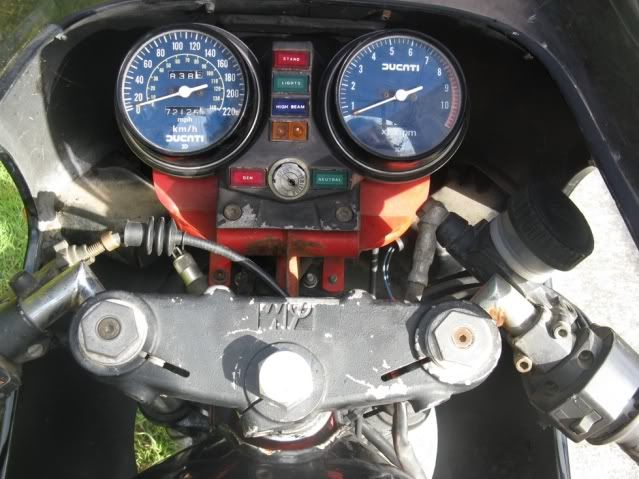
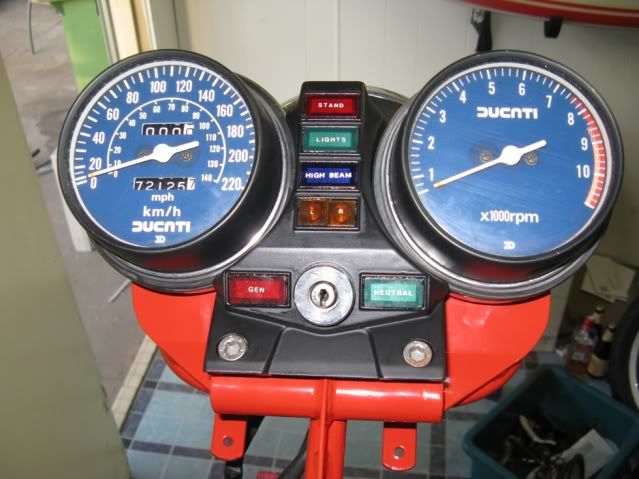
Rebuilt the ignition switch and put the dash back together.
regards
jon
Posted: Sat Apr 18, 2009 2:44 pm
by MartinMille BANNED
Looking good there Jon , I should be starting to post some pictures of the SSD resto next month sometime when all the fun starts , thanks for the anodizing link as well, how much did they charge you for all 3 calipers ?
With your master cylinders just take them to a brake place and have them fit S/steel sleeves in place , no more worries about leaking again
Cheers
Posted: Sat Apr 18, 2009 6:02 pm
by Jon
Martin Mille / SSD wrote: how much did they charge you for all 3 calipers ?
Cheers
They have a minimum charge of $100, I got 5 calipers (10 halves), the front brake hose splitter, 3 master cylinders, pair of levers and a handful of fittings off another project done for $170.
Martin Mille / SSD wrote:
With your master cylinders just take them to a brake place and have them fit S/steel sleeves in place , no more worries about leaking again.
Cheers
Thanks Martin, Dropping them off to a guy on Monday, will post a link if he does a good job.
regards
jon
Posted: Sun Apr 19, 2009 2:01 am
by Craig in France
Nice work, Jon.
Keep the photos coming ...
Ciao
Craig
Posted: Mon Apr 20, 2009 6:02 pm
by Jon
Tidied up and rekitted the back shocks with 5W oil.
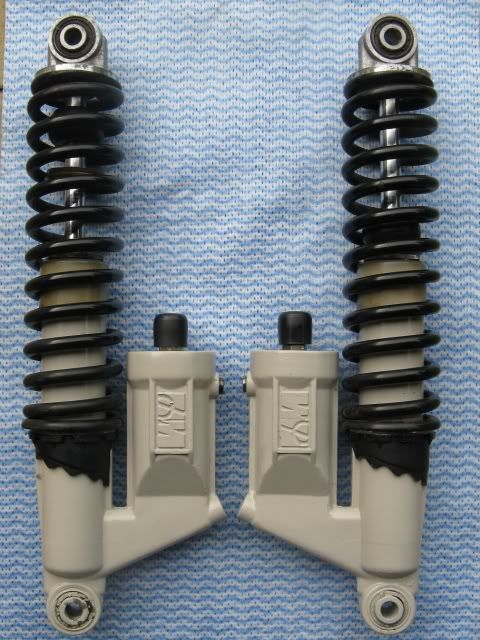
"Colurbond Dune" was the closest grey I could find to matching against an unstained part of the origianl paint.
By hand without the springs fitted it felt to have very little compression damping and reasonable rebound damping.
Didn't worry about refinishing the springs as I will check the suspension sag when I get the bike assembled and get some springs to suit.
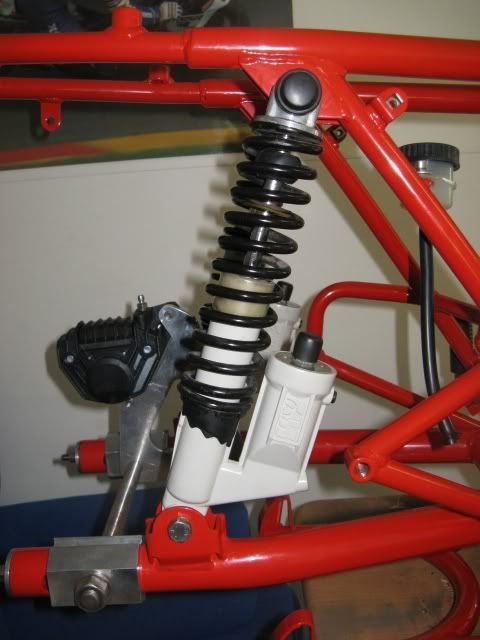
When the spring rates are right I will try and sort the damping a little better.
regards
jon
Posted: Mon Apr 20, 2009 6:36 pm
by Jon
Have tracked down original rear indicators as it had aftermarket ones fitted when I got it.
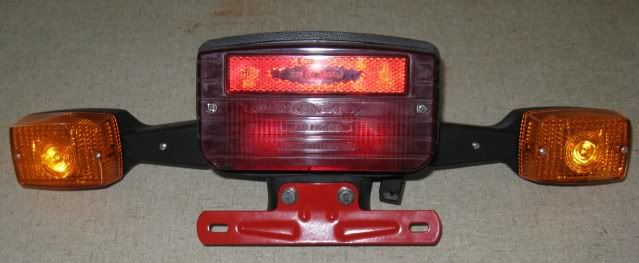
If anyone ever says "I didn't see you indicate" I will find it very hard to believe, they are fairly large.
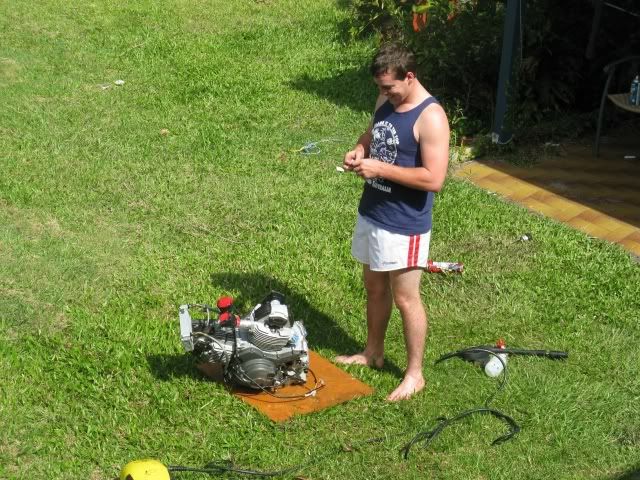
My son has come to the dark side and picked up a 1998 750 monster project, repairable right off with 22,000km.
It had been sitting in a shed since early 2000.
His tidy up thread is @
Dave's 750M tidy up
regards
jon
Posted: Sun May 17, 2009 11:37 pm
by Jon
Got my wheels painted using my high tech wheel painting jig.
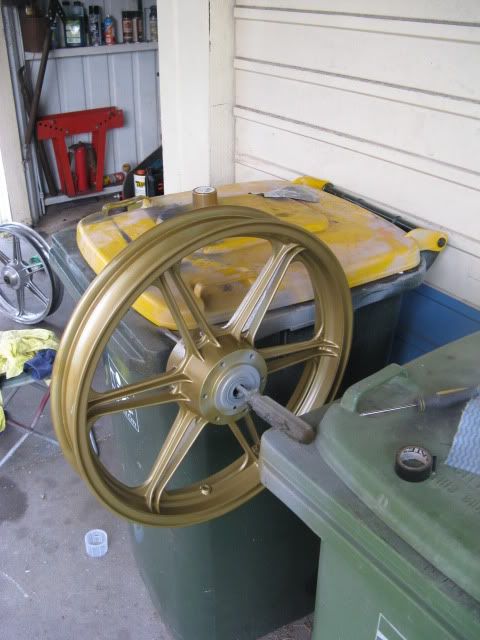
"Topaz Metalic Gold" was a near perfect match with the unfaded section behind the cush drive.
Rattle can paint - "Holts Dupli-Color", code is "DSC23", available at Repco in Aus.
Descaled my fuel tank using another high tech tool.
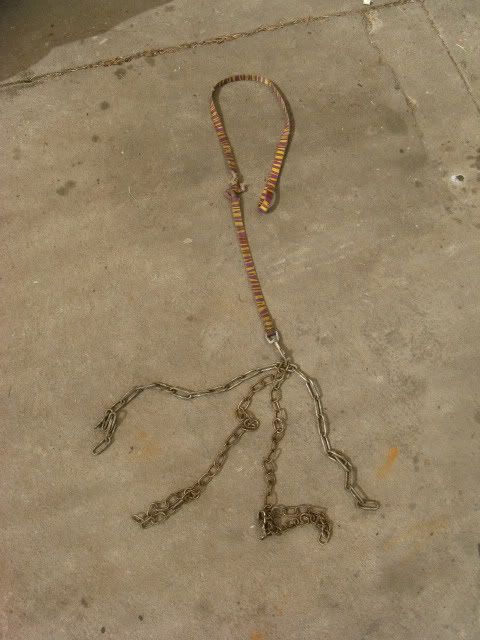
Put lead loopover your wrist, put rest inside the tank and shake until your arms cant take any more, repeat as nescessary.
Sealed the tank using
KBS Coatings tank sealer, tank and fairings are now at the paint shop so fingers crossed.
Got an original sales brochure and some front indicators (Fiat 850 Berlina) from eBay.
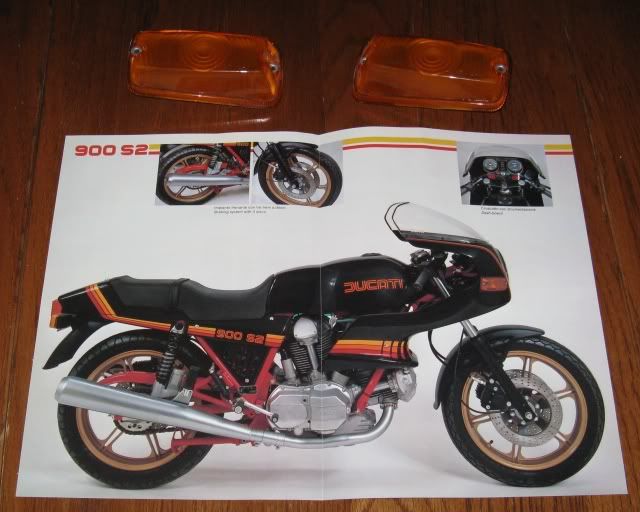
Now have a surplus early S2 sales brochure if anyone is after one (grey with Black Frame), picked it up when i couldn't find the right one.
regards
jon
Posted: Mon May 18, 2009 4:17 am
by mizike77
Topaz Metalic Gold, as in Mercury Topaz? Was it a spray can or did you use a spray gun and compressor?
Posted: Mon May 18, 2009 4:20 am
by MartinMille BANNED
looks like a can lid on the bin to me , might be worth a picture of the paint code on the lid
Posted: Mon May 18, 2009 1:40 pm
by Jon
Updated last post with more info on the paint I used on the wheels.
regards
jon
Posted: Sat Jun 20, 2009 11:43 pm
by freckle
looking good!
Ya better hurry but you dont want ya Son to get his bike going first!
