Here is a couple pics to go with the previous post, lifted from my resto thread elsewhere.
I did not take many pics because the job is such a h/f I had no patience left for pics.
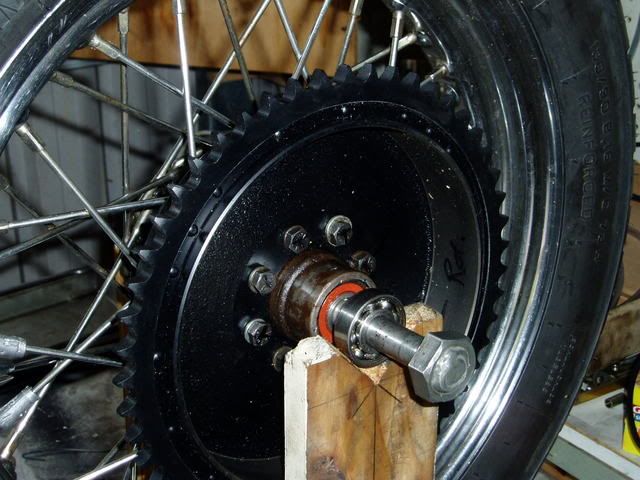
Yeah yeah I know that is a funny looking Ducati wheel but WTF.
[QUOTE=Hopper;1249650]
Pic: Truing stand.
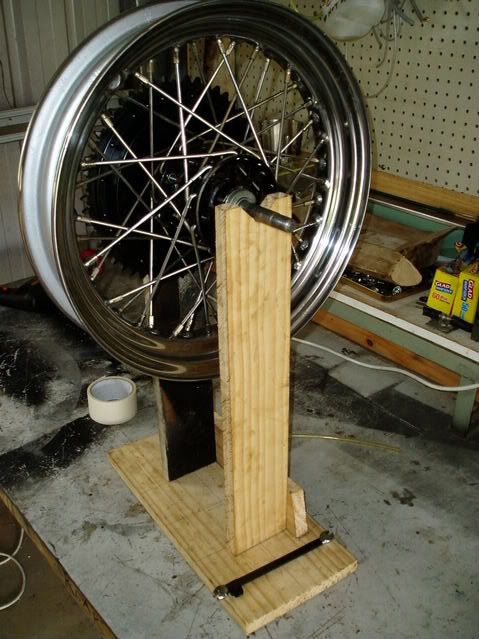
And I use the truing stand for balancing by adding a pair of loose worn old wheel bearings with no seals and all greased washed out with WD40. It works a treat. Takes me days to get the balance just right though. I have it on the bench and give it a spin when I am working on other stuff and then change weights when it stops etc.
Pic: Balancing stand detail.
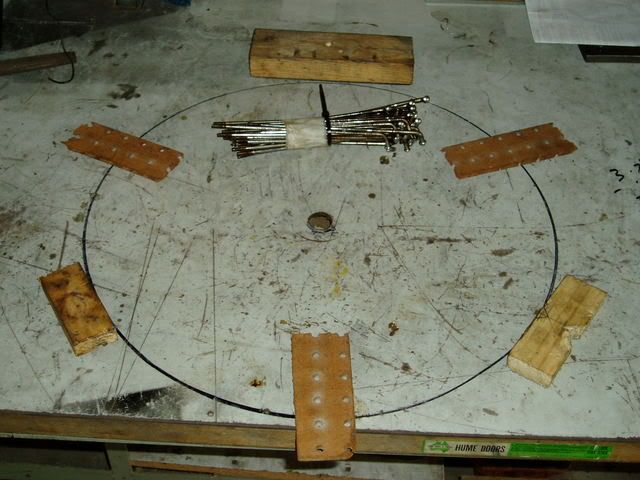
Now here is a really, really good wheel lacing trick I learned from an old time mechanic and engineer who lives up the street from me. I drilled a hole in my old workbench the right size for the axle to fit in. Before taking off the old rim, i drew around it and screwed three blocks of wood to the bench in the right position to hold the new rim concentric to the axle. I also put some strips of 1/4" scrap pegboard unde the new rim to give the 1/4" off set I wanted. Then when you lace the new rim on, it is held in place and you tighten the spokes evenly all round. When I put it up on the truing stand, it was within about 1/8". In the past, just doing it all loose on the bench, I wouild get it anywere up to an inch out of whack. :laugh
Pic: Hole in bench and wooden holding blocks to spoke wheel true.
The HD manual says to true to within 1/32" but I looked at my BMW and Honda factory manuals and they specify 2mm (.080" about 3/32"). But at .080" that wheel just looked whacky to me. I figure the MoFoCo has been lacing wire wheels since 1903 and on that score, knows what it is doing. Finally, after much fiddling, got it within .020" measured with a piece of wooden dowel clamped to my stand a feeler gauge. (Cheaper than a dial indicator).
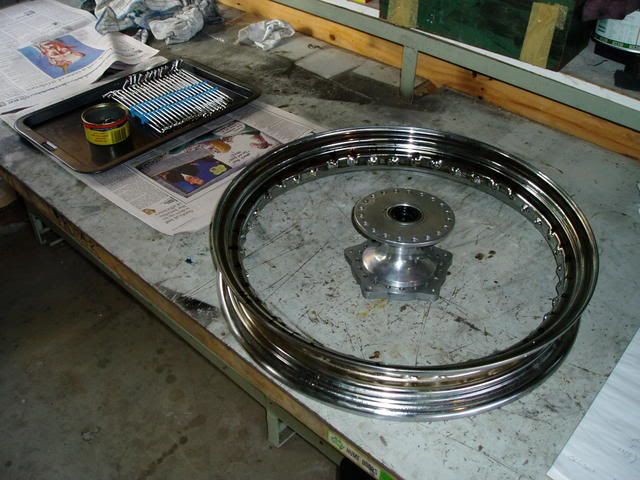
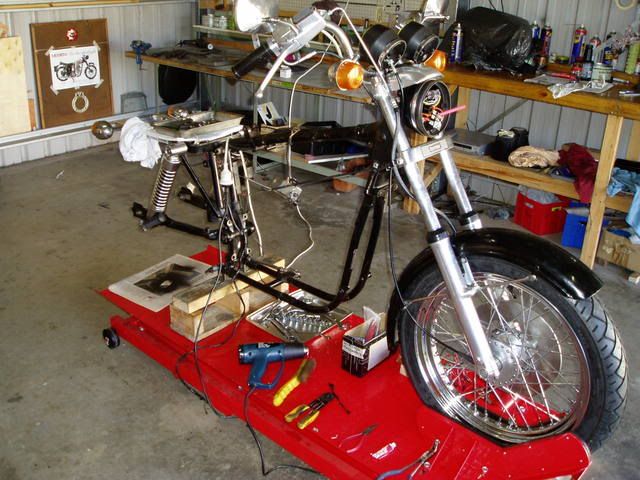
So, front wheel back in bike. Front end all rebuilt and polished. New seals, new brake seals top and bottom, new genuine HD brake hose, 100/90 Metzeler tyre just scraped in between the fender stays with a match head clearance each side, repainted, rebuilt caliper, new handlebar switch internals, steering head bearings greased and adjusted.
It is starting to look like a bike again, not just a bare frame. That is a major motivator. Sometimes you just have to do that after spending weeks and weeks working and it still just looks like a bare frame surrounded by boxes of parts and a dead engine sitting there on the bench.
Woohoo. Beautiful. Its a bike again. It has a wheel. And handlebars. :tour

banana
banana
banana
banana
banana
banana
banana
banana
banana
My baby.
uh, yeah that is a funny looking Ducati, but the principle is the same.[/QUOTE]