Page 7 of 8
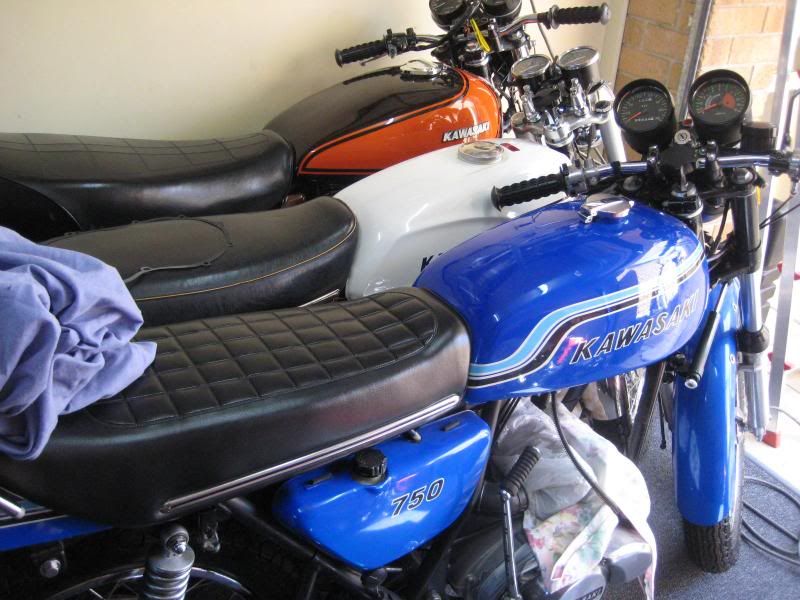
H2
Posted: Fri Oct 08, 2010 8:38 pm
by Gum
As requested, the H2.
Posted: Sat Oct 09, 2010 6:46 am
by mizike77
A 69 H1 as well....I need to move to AUS !
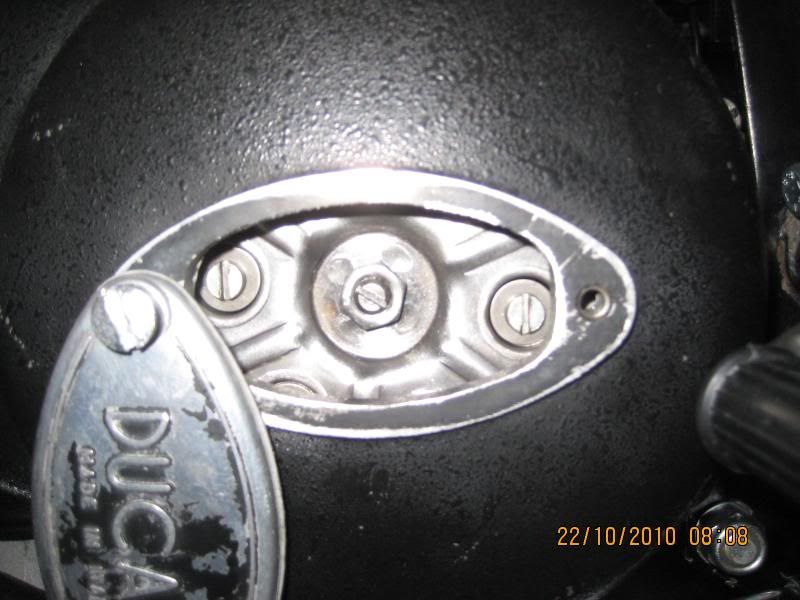
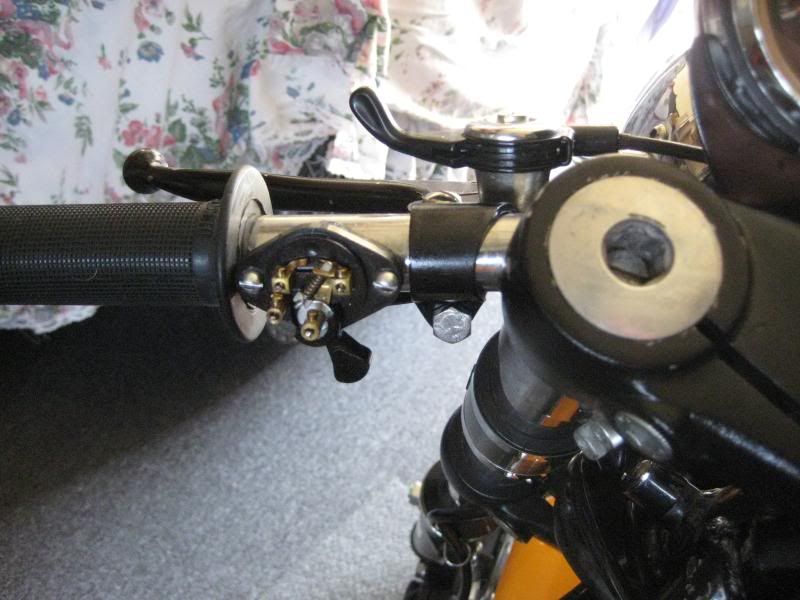
Clutch
Posted: Thu Oct 21, 2010 4:05 pm
by Gum
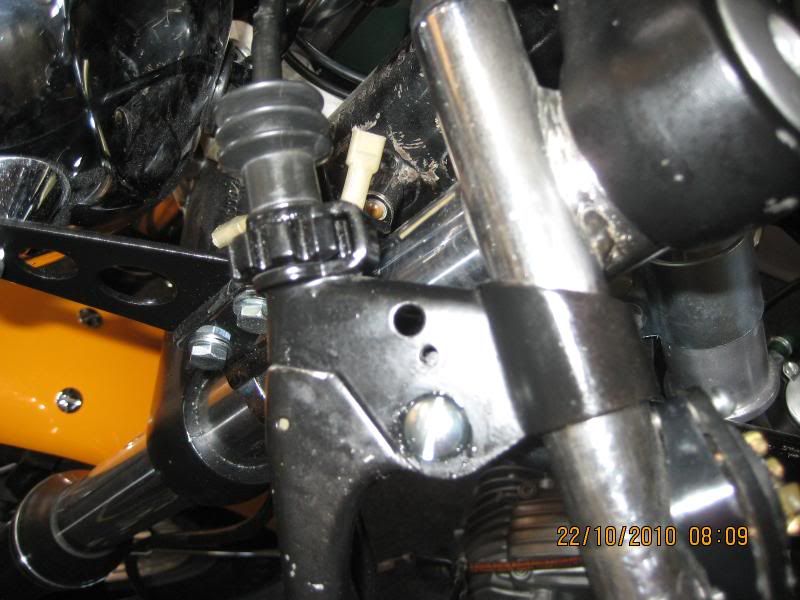
Before I go ahead with this can someone please confirm. This nut is undone and then I adjust the clutch ????. I cant get enough free play on the cable. This nut is really tight ???
Thanks Gum
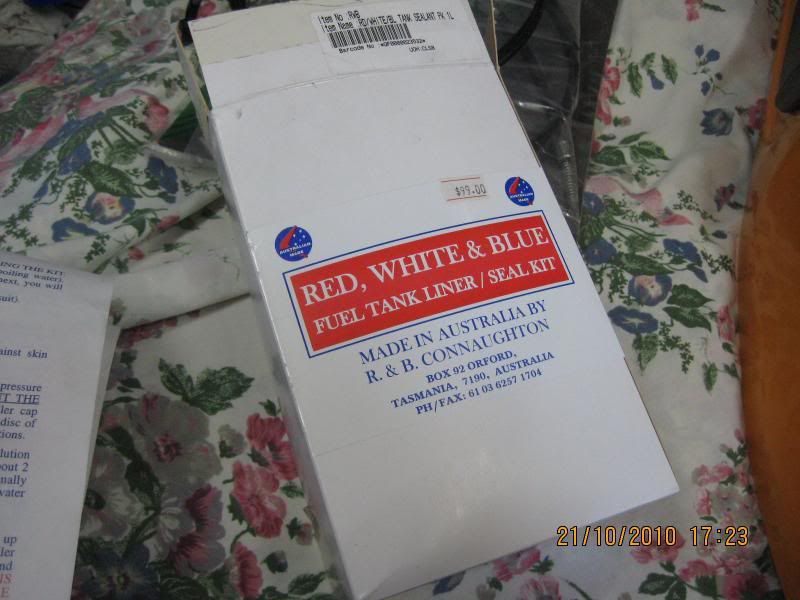
Progress
Posted: Thu Oct 21, 2010 4:07 pm
by Gum
I have sealed the tank, this stuff is really easy to work with and not at all harmful, lets hope it works when I fill it with petrol.
Thanks Gum

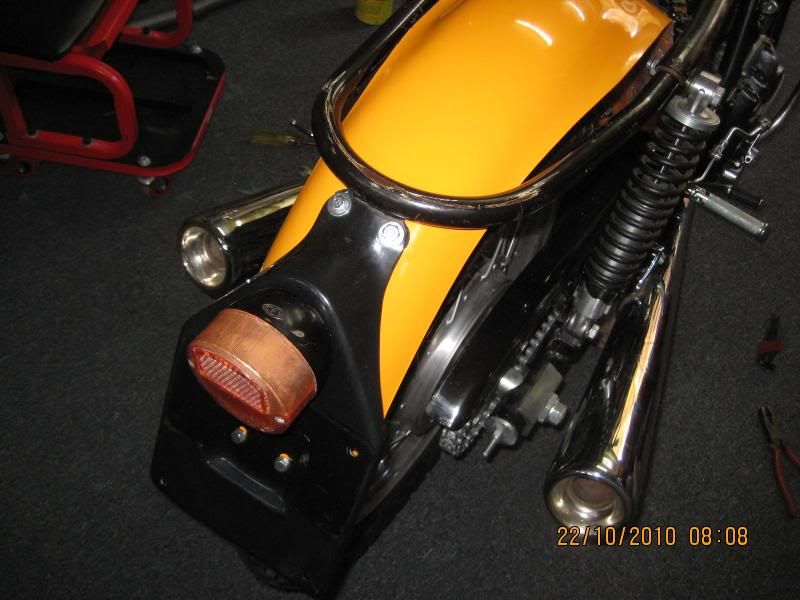
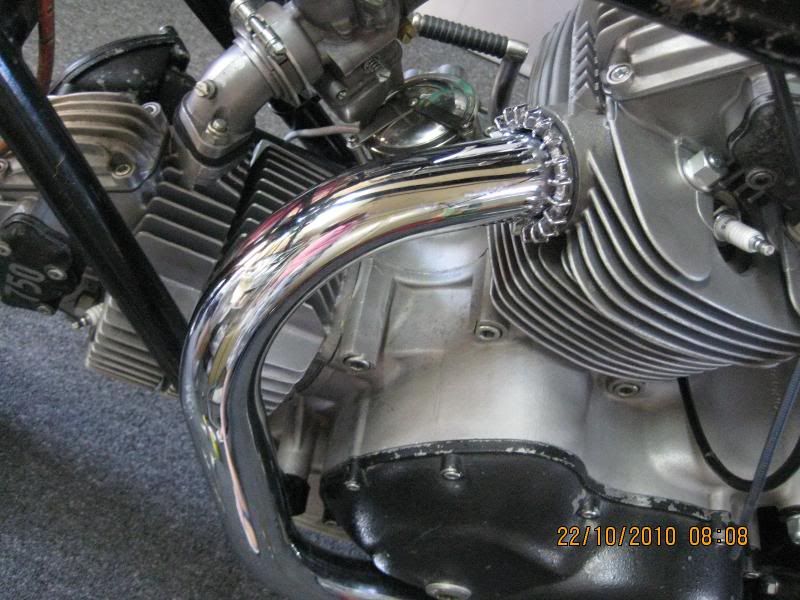
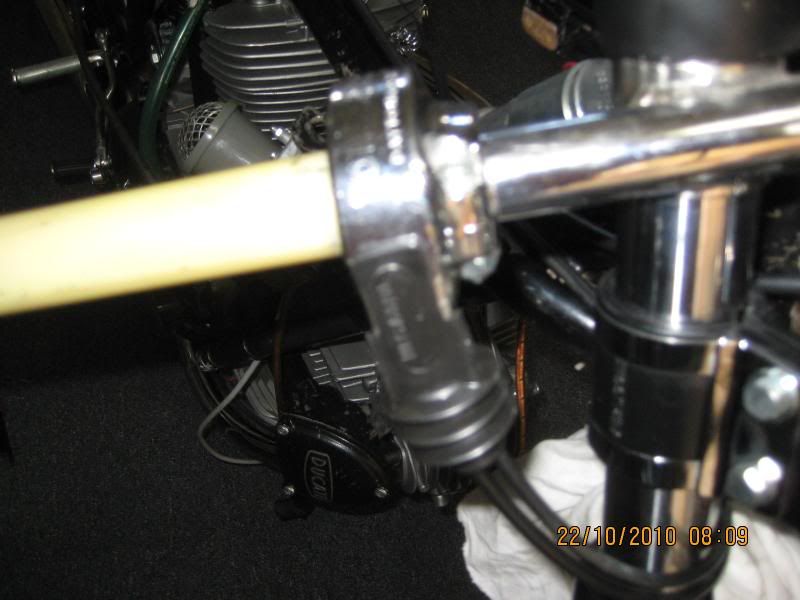
Pipes
Posted: Thu Oct 21, 2010 4:13 pm
by Gum
Pipes are fitted, this one had a big hole in it from the axle nut, some bending and they are both in shape now.

Carbs are on and balanced up nicely.
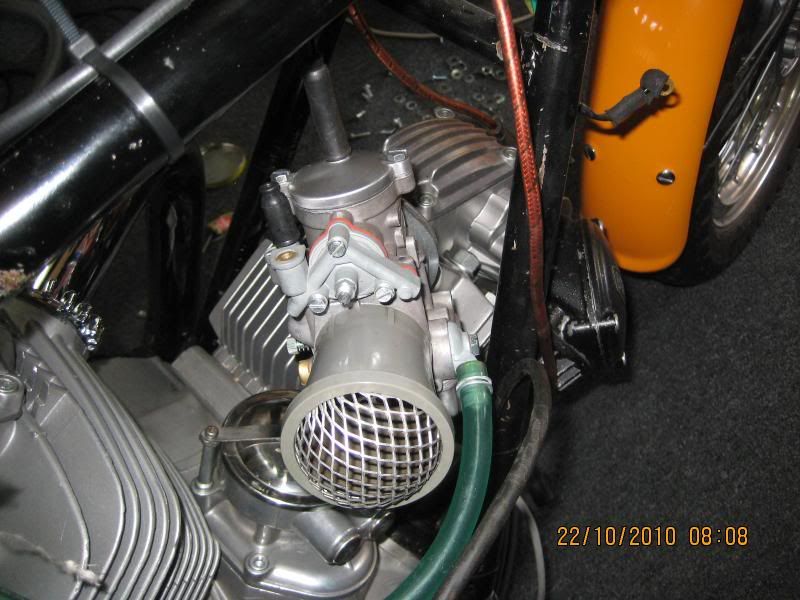
The rear guard is all on and cleaned up.
Pipes all tight, got a tool from Steve, works well.
Both pegs are on, new rubbers, thanks to Steve again.
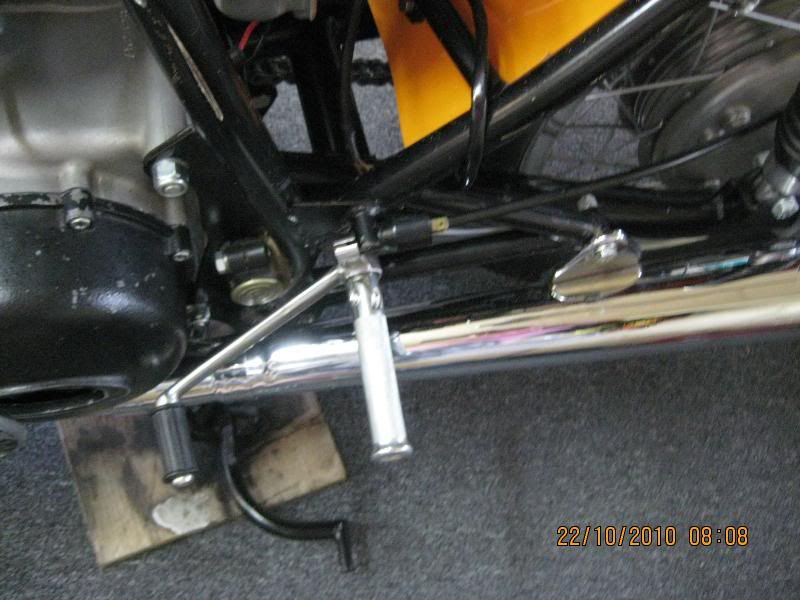
Clutch assy is all on, just not enough play at this stage.
New throttle rubber, yes Steve, got some new grips and bar ends from Europe, look good they do.
Fuel clips
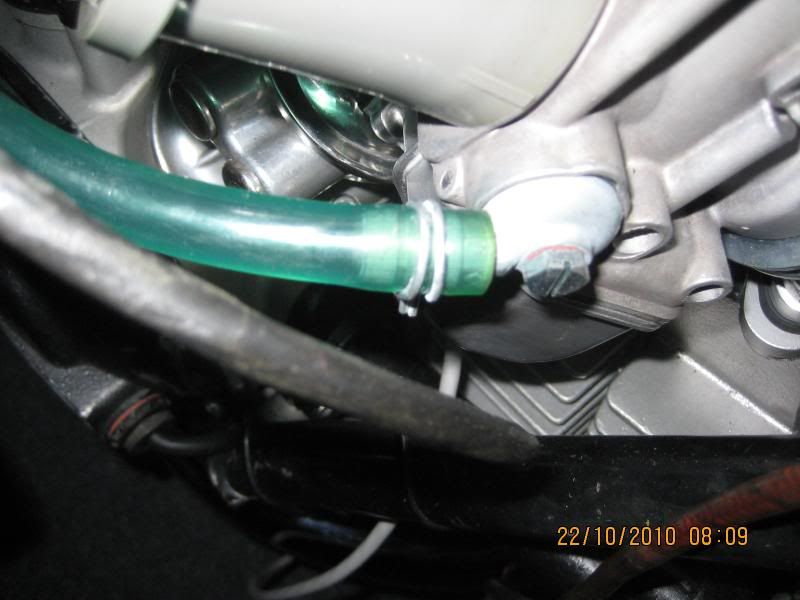
Posted: Thu Oct 21, 2010 4:15 pm
by Gum
Got new clips, they only just fit, a little small really. Original hose is still good.
New Chain and sprockets

Thanks Gum
Posted: Fri Oct 22, 2010 7:50 am
by BevHevSteve
yes undo that 13mm nut, the clutch adjuster is the slotted rod in the middle, find the title that goes something like CLUTCH PUSHROD ORDER INFO in the ENGINE section of this forum for a complete step by step instruction on how to properly adjust your clutch - sounds like you are way off in that department.
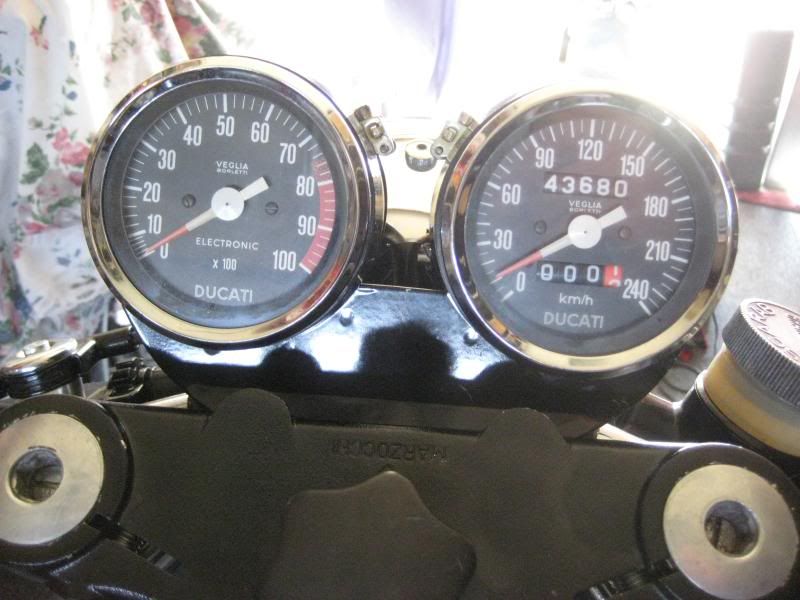
Gauges
Posted: Sat Oct 30, 2010 9:40 pm
by Gum
The Gauges are all on, I think that they look good.
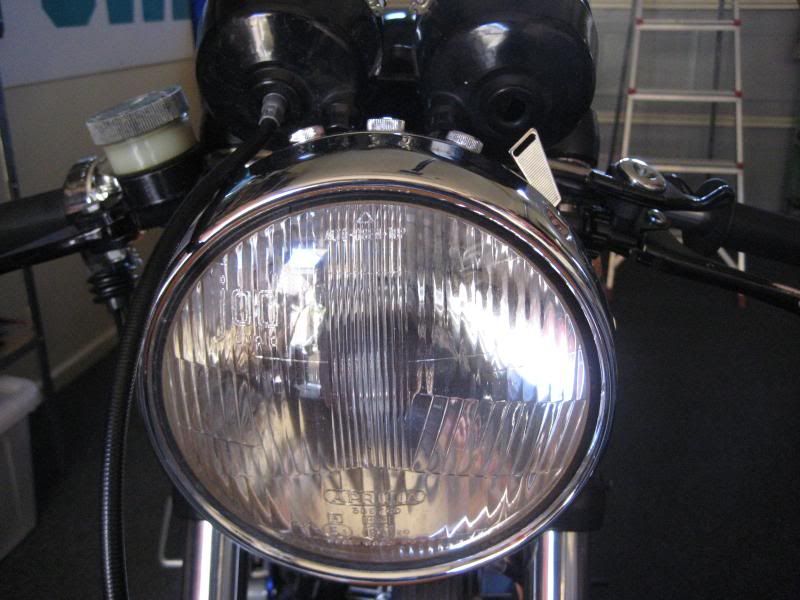
Headlight
Posted: Sat Oct 30, 2010 9:45 pm
by Gum
The headlight is in. Now I dont know if the Light Key on top the headlight is in the correct position. Has anyone thought of making a copy of these headlights. They seem expensive, Im thinking it cant be hard to get a copy of the Glass done. I have one that I can supply, then im sure there is another headlight with the same dimensions that the copied glass can fit into. Does anyone know if this has ever been done, for what they sell for if 10 were made im sure it would work out.
Gum
Horn
Posted: Sat Oct 30, 2010 9:52 pm
by Gum
I bought an after market horn/dipper switch. Dont bother, rubbish. I have the original one, now im just after a cover, there is one on Ebay so that will finish that off.
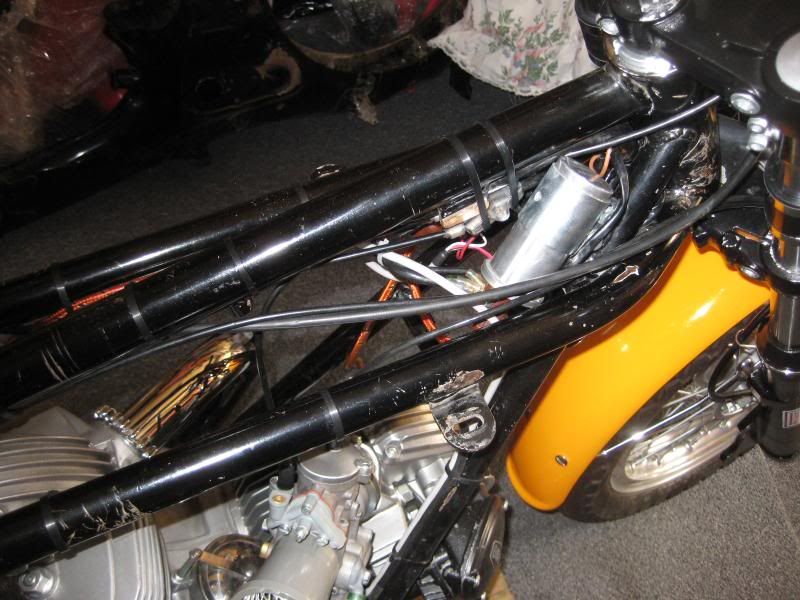
Wiring
Posted: Sat Oct 30, 2010 9:54 pm
by Gum
All done and it works a treat, even got the old horn working. I bought a new one but dont need it. So if you want a new horn, let me know and you can have it a good price. The wiring was very enjoyable to do, did over a week, very satisfying indeed.
Idiot lights
Posted: Sat Oct 30, 2010 9:55 pm
by Gum
Idiot lights in and working.
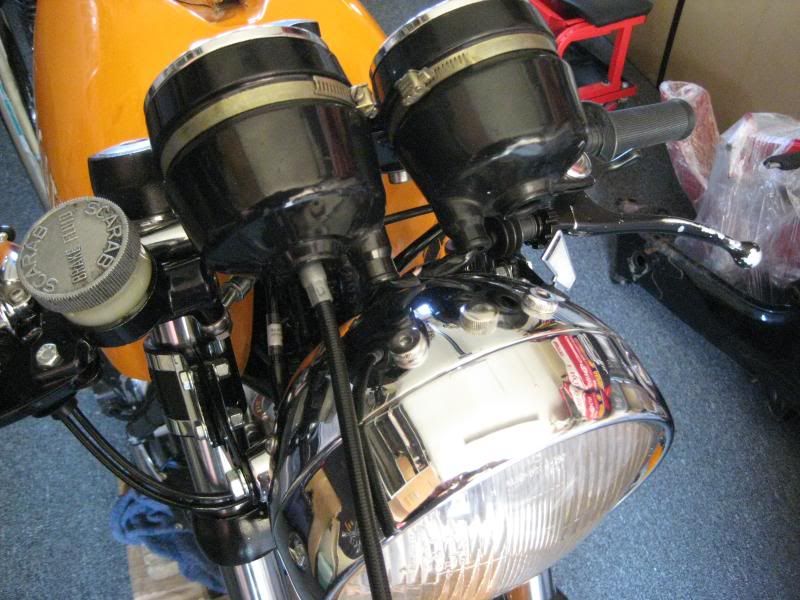
Brakes
Posted: Sat Oct 30, 2010 9:58 pm
by Gum
Master resleved and some morris minor seals, the front brake is all good now. All I need is 2 fuel taps, some petrol and I can kick some life into it. Then fit the seat, rego and im away. Lets hope all that by the end of the week.
Thanks Gum

Posted: Sun Oct 31, 2010 1:08 pm
by baddean
Hey Gum,
You mentioned in another thread that you had a gap between the seat and the tank and that you had some adjustment moving the tank forward and backward.
Check to make sure that when you turn the steering lock to lock that you have clearance and that the forks don't hit the tank. You will probably have to move the tank to it's rearmost position to prevent this. Will probably take up some of the gap too.
Dean
MMMM`
Posted: Sun Oct 31, 2010 3:42 pm
by Gum
yes I think your quite right there, Im sure I would have picked that up when I finally get some fuel taps and I can bolt the seat down.
Thanks Gum